

 English
 русский
 Deutsch

Content
Ductile iron pipe has earned a well-deserved place in water distribution, fire protection, and drainage systems. It is strong, impact-resistant, and capable of serving for decades when installed correctly. The joints, in particular, determine whether a pipeline stays leak-free or becomes a recurring maintenance problem. In this guide, we will cover the main ways to connect ductile iron pipe, walk through the assembly process, and point out the common pitfalls that separate a quality installation from a costly rework.
The Most Common Ductile Iron Pipe Joint Types
Before you open a crate of fittings, it helps to understand the three joint families you will encounter most often on ductile iron pipe. Each one has its own assembly logic, tooling, and best-use case, and choosing the right approach early saves frustration in the field.
| Joint Type | How It Works | Typical Use |
|---|---|---|
| Push-on | Gasket seated in the bell; plain end pushed in | Buried water and sewer mains |
| Mechanical (MJ) | Gasket, gland, and bolts compress around the plain end | Above-ground and restrained installations |
| Flanged | Bolted flanges with a gasket between two faces | Pump stations, valve connections, indoor piping |
Push-on joints are the workhorse of buried pipelines. A rubber gasket is seated in the bell, the spigot end is lubricated, and the pipe is pushed straight home with a padded bar or a compact pipe installer. There are no bolts to tighten and no small parts to lose, which makes the push-on joint fast and forgiving in trench conditions. Mechanical joints follow a similar idea but add a follower gland and bolts that compress the gasket around the plain end. They take a little longer to assemble, yet they are easier to dismantle later and tolerate a bit more handling. Flanged connections, meanwhile, are the standard choice when the pipe meets a valve, pump, or other flanged equipment. A gasket sits between the two flange faces, and bolts do the rest.
How to Connect Ductile Iron Pipe with Push-On Joints
For most underground installations, the push-on joint is the quickest and most straightforward method. The sequence below covers the essentials, but always defer to the pipe manufacturer's instructions and any project-specific specifications.
- Clean the bell socket and the plain end thoroughly, removing mud, sand, and any debris that could damage the gasket.
- Inspect the gasket and seat it evenly in the gasket groove inside the bell.
- Apply a thin, even coat of the manufacturer-recommended lubricant to the plain end and the gasket surface.
- Align the pipe and push the plain end squarely into the bell using a padded bar or a pipe puller.
- Continue until the reference mark on the spigot reaches the face of the bell, then check the gap around the joint to confirm even entry.
Cleaning is the step that gets skipped most often, and it is the one that matters most. A small stone or a crust of dried mud trapped between the gasket and the spigot creates a leak path that may not appear until the line is under pressure. Wipe both surfaces, inspect the groove, and seat the gasket carefully before applying lubricant. In cold weather, use a lubricant rated for low temperatures so the gasket seats properly instead of rolling out of position.
When you push the pipe home, keep the movement steady and straight. If the plain end stops short of the reference mark, do not hammer it with a metal bar; pull it into place with a proper pipe puller or a bar fitted with a timber pad. For a more detailed walkthrough, including deflection limits and the tools that make assembly easier, our step-by-step ductile iron pipe fitting installation guide covers the subject in depth.
Mechanical Joints and Flanged Connections
Mechanical joints shine when a connection may need to be taken apart again, such as at a valve vault or an above-ground tie-in. Slide the gland and the gasket over the plain end first, then push the pipe into the bell. Position the gasket against the bell face, slide the gland up, and tighten the bolts evenly in a criss-cross pattern. The goal is uniform compression around the full circumference; overtightening one side distorts the gasket and can create a leak that is difficult to chase down later.
Flanged connections are conceptually simple, but they punish carelessness. Clean the flange faces, choose a gasket that suits the fluid and the operating temperature, and tighten the bolts in the correct sequence and torque range. Flanged joints are where ductile iron pipe most often meets valves and pumps, and the quality of the casting surfaces has a direct effect on how easily a leak-free seal is achieved. When you are sourcing components for a system that depends on frequent valve or pump maintenance, precision-machined valve body castings make a real difference in the field.
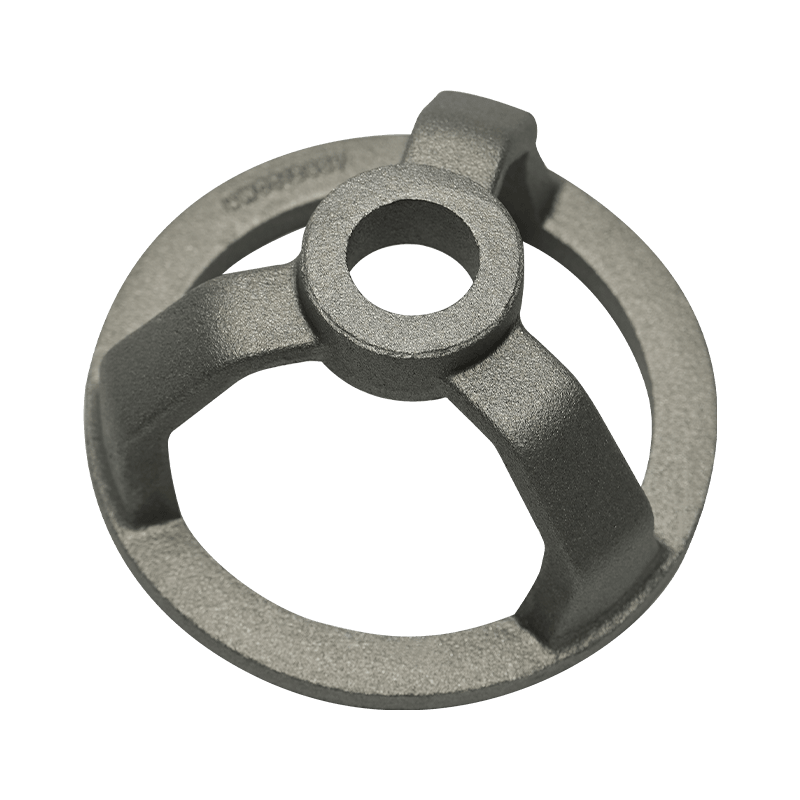
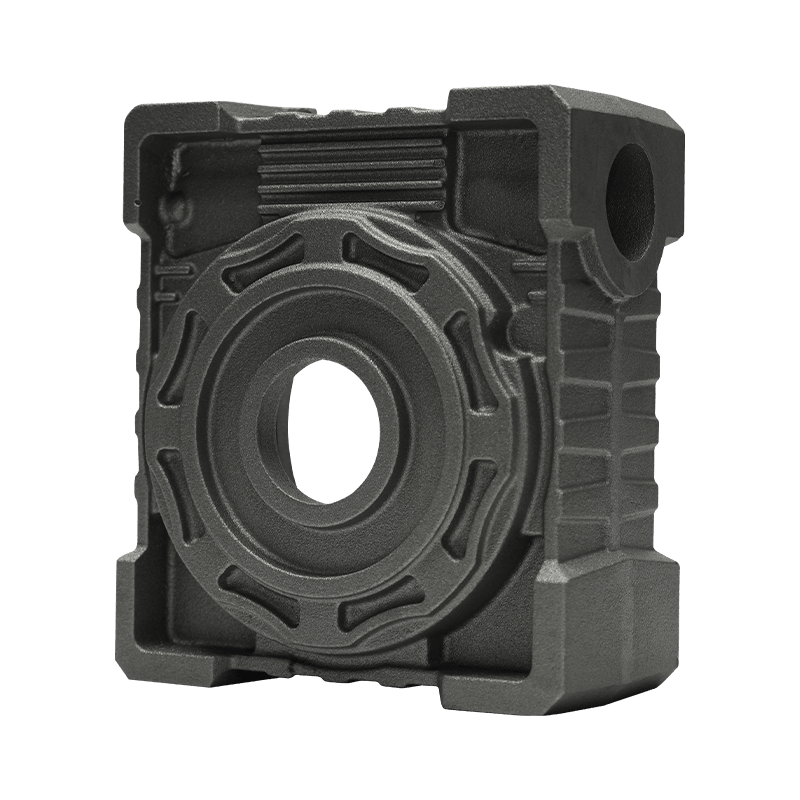
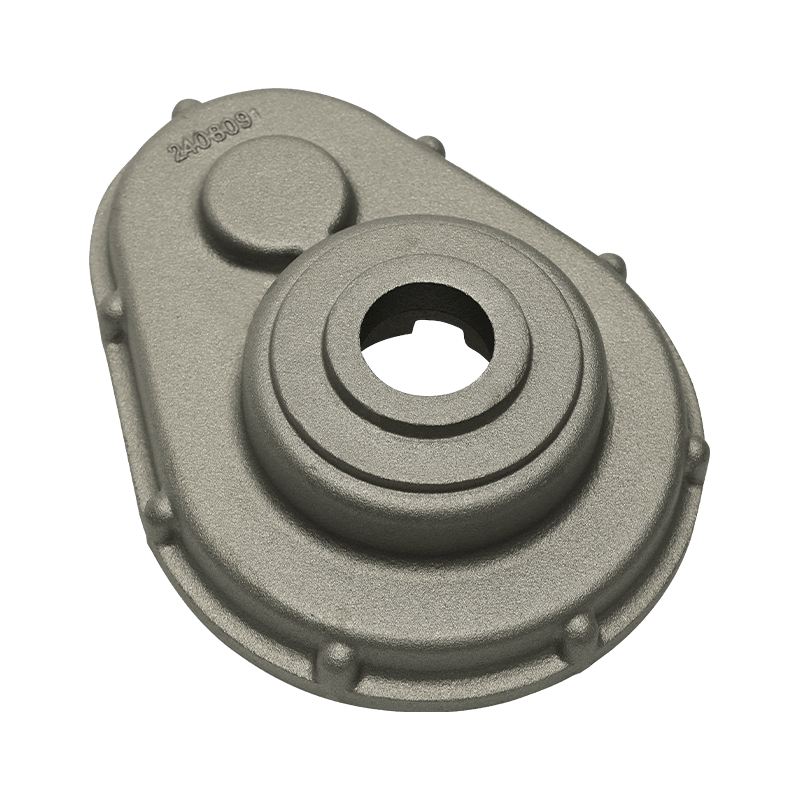 Precision-Machined Ductile Iron Valve ComponentsThis range of custom ductile iron valve body castings and accessories ensures precise mating surfaces, making leak-free flanged connections easier to achieve during frequent valve and pump maintenance.View Product →
Connecting Ductile Iron Pipe to Other Materials
Not every pipeline stays ductile iron from end to end. It is common to transition to PVC, HDPE, or steel in a different part of the system, and there is nothing wrong with that as long as the transition is made with a proper adapter rather than a field improvisation.
Transition couplings are designed exactly for this job. They feature a center stop that keeps the two pipe ends from touching, plus separate gaskets for each side, so a ductile iron plain end and a PVC or HDPE pipe of a slightly different outside diameter can each seal securely. Restrained transition couplings add locking teeth or grip rings to hold the pipes axially, which matters in pressure lines or where soil movement is anticipated. Flanged adapters and mechanical joint adapters are also common when tying into existing flanged or mechanical joint fittings.
| Connection Scenario | Recommended Method |
|---|---|
| Ductile iron to PVC | Transition coupling with sized gaskets |
| Ductile iron to HDPE | Restrained transition coupling |
| Ductile iron to flanged valve or pump | Flanged connection or flange adapter |
The important thing is to use a purpose-made coupling rather than a rubber sleeve and hose clamps. That kind of improvised joint might hold water in an open ditch, but it will not survive the pressure cycles, soil loads, and thermal movement that an engineered coupling is built to handle.
Inspection, Alignment, and Testing After Assembly
A reliable connection starts before the pipe is lowered into the trench. Check the bells, spigots, and flange faces for cracks, chips, or casting defects during unloading and again immediately before assembly. Store gaskets away from direct sunlight and sources of ozone, because a hardened or cracked gasket will fail no matter how carefully the joint is assembled.
Keep an eye on the common mistakes that show up on job sites again and again:
- Using a gasket that does not match the pipe class or the fluid being carried.
- Tightening mechanical joint bolts unevenly, which distorts the gasket and opens a leak path.
- Exceeding the maximum deflection angle allowed by the joint.
- Backfilling before the pressure test is complete.
After the joints are assembled, test the line before backfilling. A hydrostatic test at the specified pressure will bring any improperly assembled joint to the surface, and fixing it is far cheaper while the trench is still open. Record torque values and deflection measurements for the final inspection report, and mark any damaged pipe lengths so they can be replaced rather than buried.
Choosing the Right Fittings for a Reliable Joint
No amount of field skill can compensate for a fitting that was poorly cast. Dimensional consistency, smooth gasket grooves, clean flange faces, and accurate bolt-hole alignment all determine how quickly a joint assembles and how well it seals over decades of service. That is why the choice of manufacturer matters just as much as the choice of joint type.
At Yancheng Longwan Machinery, we have spent close to two decades casting ductile iron pipe fittings and other iron components for customers around the world. Our ductile iron pipe fittings are produced with the kind of tolerance discipline that makes installation straightforward, whether you are working with push-on joints, mechanical joints, or flanged connections. We also support ODM and OEM projects, so if your system calls for a specific fitting configuration, we can work from your drawings to deliver exactly what the design requires.
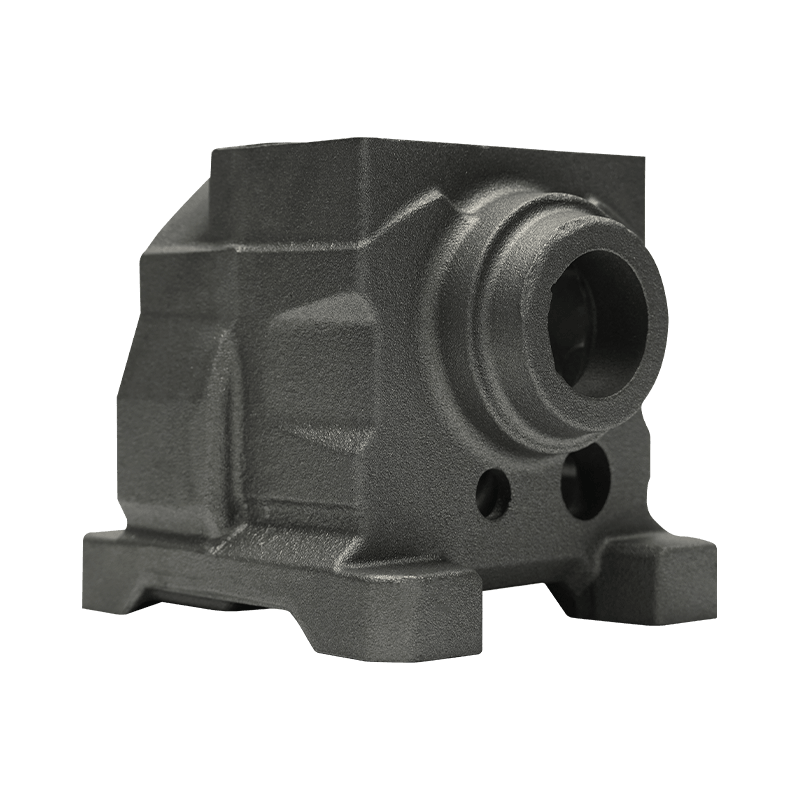
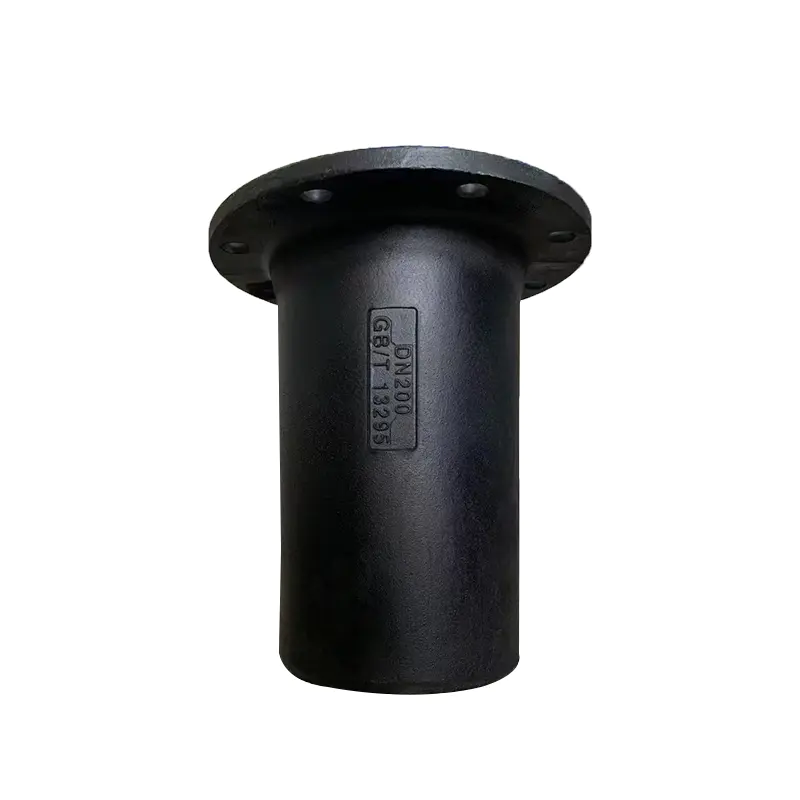 Ductile Iron Pipe Fittings for Reliable TransitionsThese dimensionally accurate fittings work with push-on, mechanical, or flanged joints, simplifying installation and ensuring dependable performance when transitioning between pipe materials in a system.View Product →
Combine the correct connection method with fittings that are dimensionally right, and you get a pipeline that is not only easier to install but also more dependable over its entire service life.